
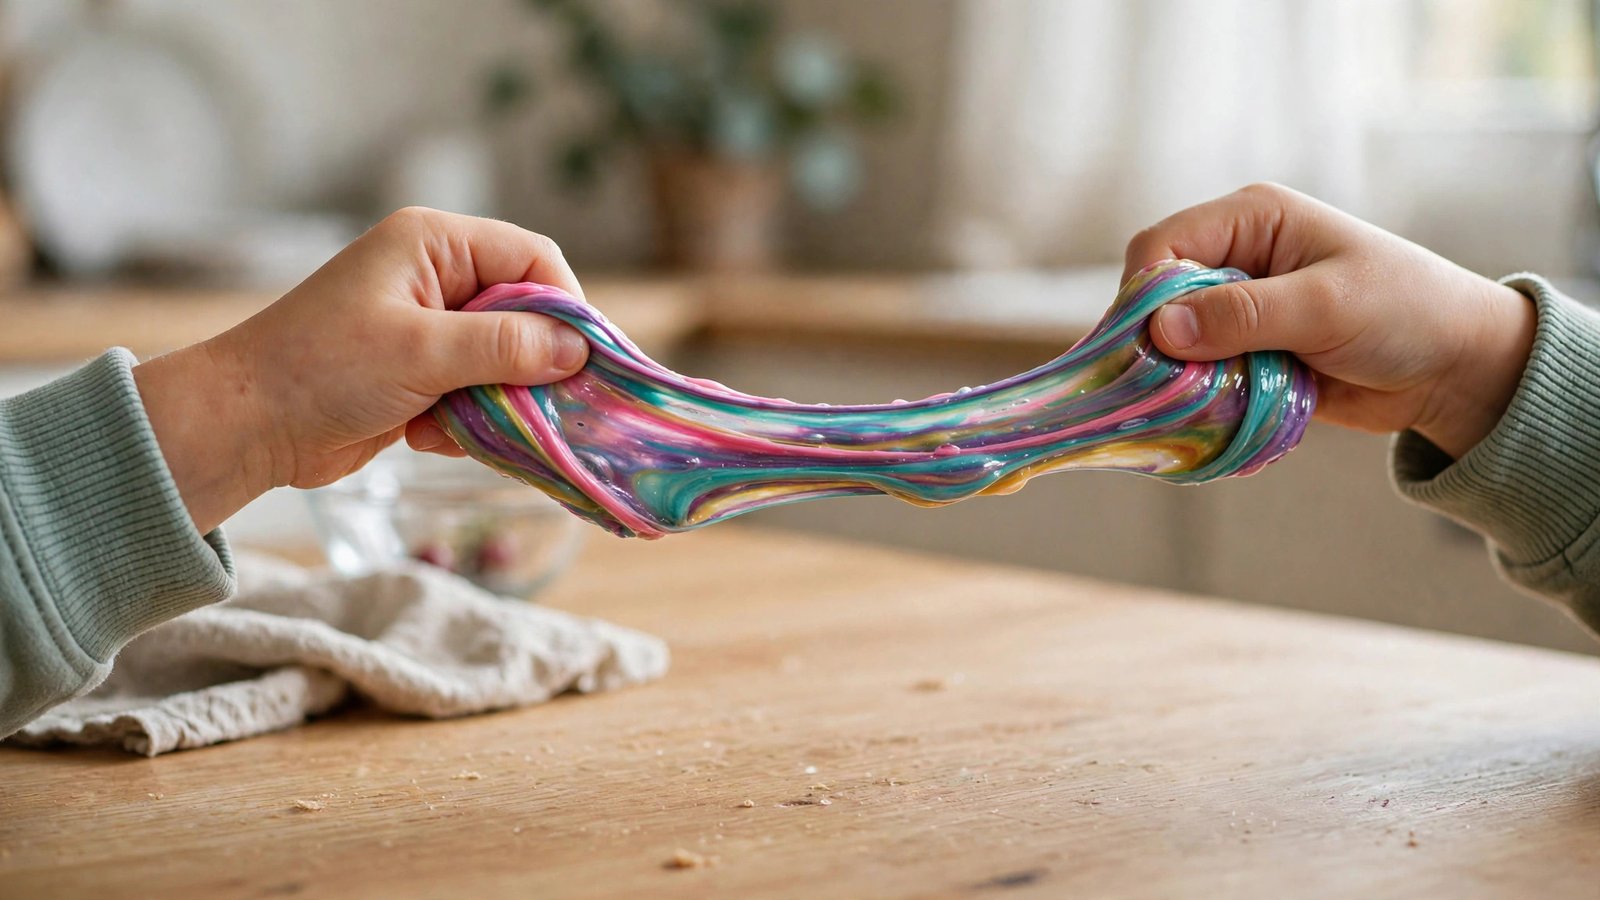
You followed the recipe exactly — the video promised fluffy, stretchy perfection — and now you have a gluey alien welded to your child’s hands, the table, and somehow the dog. Sticky slime is the number one slime frustration in America, and it is almost never the recipe’s fault. It is chemistry: slime is a polymer network, and stickiness means the network is not finished forming. The fix is understanding what is actually happening in the bowl. Here is how to make slime that does not stick to everything, with the science of why it works and rescue techniques for every sticky disaster.
Why Slime Gets Sticky: The 30-Second Chemistry
Slime starts as polyvinyl acetate — the long, tangled polymer molecules in white school glue. An “activator” (borax solution, or saline containing boric acid plus baking soda) creates cross-links between those polymer chains, transforming runny glue into a stretchy, cohesive network. Stickiness means under-crosslinking: too few links have formed, so loose polymer chains grab onto everything they touch. The classic beginner error is dumping in all the activator at once, panicking at the texture, and either quitting too early (sticky) or overcorrecting (rubbery). Perfect slime lives in a narrow zone — enough cross-links to hold together, few enough to stay stretchy — and you reach it by adding activator gradually and kneading between additions. Understand this and you will never fear the bowl again. The American Chemical Society’s slime chemistry explanation breaks down the polymer science behind every recipe variation.
The Non-Sticky Base Recipe
Start with the right ingredients — substitutions are where most sticky disasters begin. You need: 4 ounces (half a cup) of white school glue (PVA glue; “washable” works, glitter glue works, but avoid off-brand glues with different formulations), half a tablespoon of baking soda, and 1 tablespoon of contact lens saline solution that lists boric acid and sodium borate in the ingredients (this matters — saline without borates will not activate). Mix the glue with a quarter cup of water first for a smoother texture, stir in the baking soda completely, then add the saline one teaspoon at a time, stirring thoroughly between additions. The mixture will start pulling away from the bowl’s sides — that is your signal. Stop adding activator the moment it coheres; you can always add more, but you cannot take it out. This recipe, executed patiently, produces non-sticky slime on the first try.
The Activator Technique That Changes Everything
The difference between sticky and perfect is almost entirely technique, not ingredients. Add activator in small increments — a teaspoon at a time — stirring for a full 30 seconds after each addition before judging. The mixture goes through stages: first soupy, then stringy and lumpy (this alarming phase is normal), then suddenly pulling together. When it starts leaving the bowl’s sides clean, stop and switch to kneading with your hands for 3 to 5 minutes. Kneading distributes the cross-links evenly and works out the last stickiness — slime that seems too sticky in the bowl often perfects itself in your hands. If it still sticks after thorough kneading, add activator a few drops at a time, kneading between additions. The golden rule: you can always add more activator, so err on the side of too little and build up. Impatience makes sticky slime; patience makes perfect slime.
Rescuing Sticky Slime (Don’t Throw It Out)
That failed batch on the counter is salvageable. For sticky slime: place it back in the bowl, add saline solution a few drops at a time, and knead vigorously for several minutes — most sticky slime just needs more cross-linking plus mechanical working. If drops are not enough, dissolve a quarter teaspoon of borax in warm water and add it sparingly; borax solution is a stronger activator, so go slowly. Letting slime rest uncovered for 15–20 minutes can also help, as slight surface drying reduces tackiness. For slime stuck to fabric: do not use hot water (it sets the proteins) — instead, apply white vinegar or rubbing alcohol to dissolve the residue, then wash normally. Slime in hair: work in coconut oil or conditioner and comb gently; the oil breaks the polymer’s grip. Almost no slime disaster is permanent with the right solvent and patience.
Fixing the Opposite Problem: Rubbery Slime
Overcorrection produces slime that tears instead of stretching — too many cross-links make the network rigid. Rescue it by working in moisture and plasticizers: knead in a pump of hand lotion or a teaspoon of warm water, a little at a time, until stretch returns. A few drops of baby oil also soften over-activated slime. Warmth helps — cold slime always feels stiffer, so let refrigerated slime come to room temperature before judging. If it is truly beyond saving (crumbly, snapping), the lesson is the dosage: next batch, stop adding activator one teaspoon earlier. Keep notes on your recipe like a little scientist — “4 oz glue, 2.5 tsp saline = perfect” — and you will reproduce success instead of rediscovering it. The Exploratorium’s polymer science activities explain why the stretchy zone is narrow and how to find it reliably.
Storage and Safety: The Fine Print
Store finished slime in an airtight container or zip bag at room temperature — exposure to air dries it out, and refrigeration makes it stiff. Properly stored slime lasts one to two weeks; discard it if it smells off, grows mold, or irritates skin. On safety: borax-based activators are the traditional route but require adult supervision — borax is toxic if ingested and irritating to eyes, so young children should use the saline-and-baking-soda method instead, with an adult handling any borax. Everyone should wash hands before and after playing, keep slime away from mouths, and never eat it no matter how much it resembles candy. Supervise toddlers entirely — slime is not for children who still mouth objects. With those guardrails, slime is a safe, genuinely educational polymer chemistry lab that fits in a bowl.
Sticky slime means under-crosslinked polymer — too few links between the glue’s molecules. Fix it with technique, not a new recipe: add saline activator one teaspoon at a time, stir 30 seconds between additions, stop when it pulls clean from the bowl’s sides, and knead for 3–5 minutes. Rescue sticky batches with a few more drops; soften rubbery ones with lotion. Patience is the real activator.
Conclusion
Making slime that does not stick to everything comes down to polymer chemistry and patience: the right PVA glue, borate-containing saline added gradually, thorough kneading, and the discipline to stop at the first sign of cohesion. Rescue sticky batches with more activator and rubbery ones with lotion, store airtight, and keep the chemistry safe with adult supervision. Master the activator ratio once and every batch after is effortless. For more kitchen chemistry fun, visit our science section, meet our team, or share your slime victories with us.
Frequently Asked Questions
Why is my slime so sticky?
Stickiness means the polymer chains are under-crosslinked — not enough activator has been added or mixed in. Add saline solution a few drops at a time, stirring 30 seconds between additions, then knead thoroughly for 3–5 minutes. Most sticky slime perfects itself with more activator plus mechanical kneading.
What is slime activator made of?
Activators work through borate ions, which cross-link the PVA polymer chains in glue. Common forms: borax dissolved in water (strongest, needs adult supervision), or contact lens saline containing boric acid/sodium borate combined with baking soda (kid-friendlier). Liquid starch also works via the same chemistry.
How do you fix over-activated rubbery slime?
Knead in moisture and softeners a little at a time: hand lotion, warm water, or a few drops of baby oil. Warmth also helps — cold slime feels stiffer. Add softeners gradually until stretch returns; you are loosening an over-tight polymer network.
Is slime safe for toddlers?
No — slime is not appropriate for children who still mouth objects, due to choking and ingestion risks from borates. For preschoolers and up, use the saline-and-baking-soda recipe with adult supervision, enforce hand washing, and keep slime away from faces.
How long does homemade slime last?
One to two weeks in an airtight container at room temperature. Discard it if it develops an odor, discoloration, mold, or causes skin irritation. Dried-out slime can sometimes be revived with warm water kneading, but contaminated slime should be thrown away.
Leave a Reply