
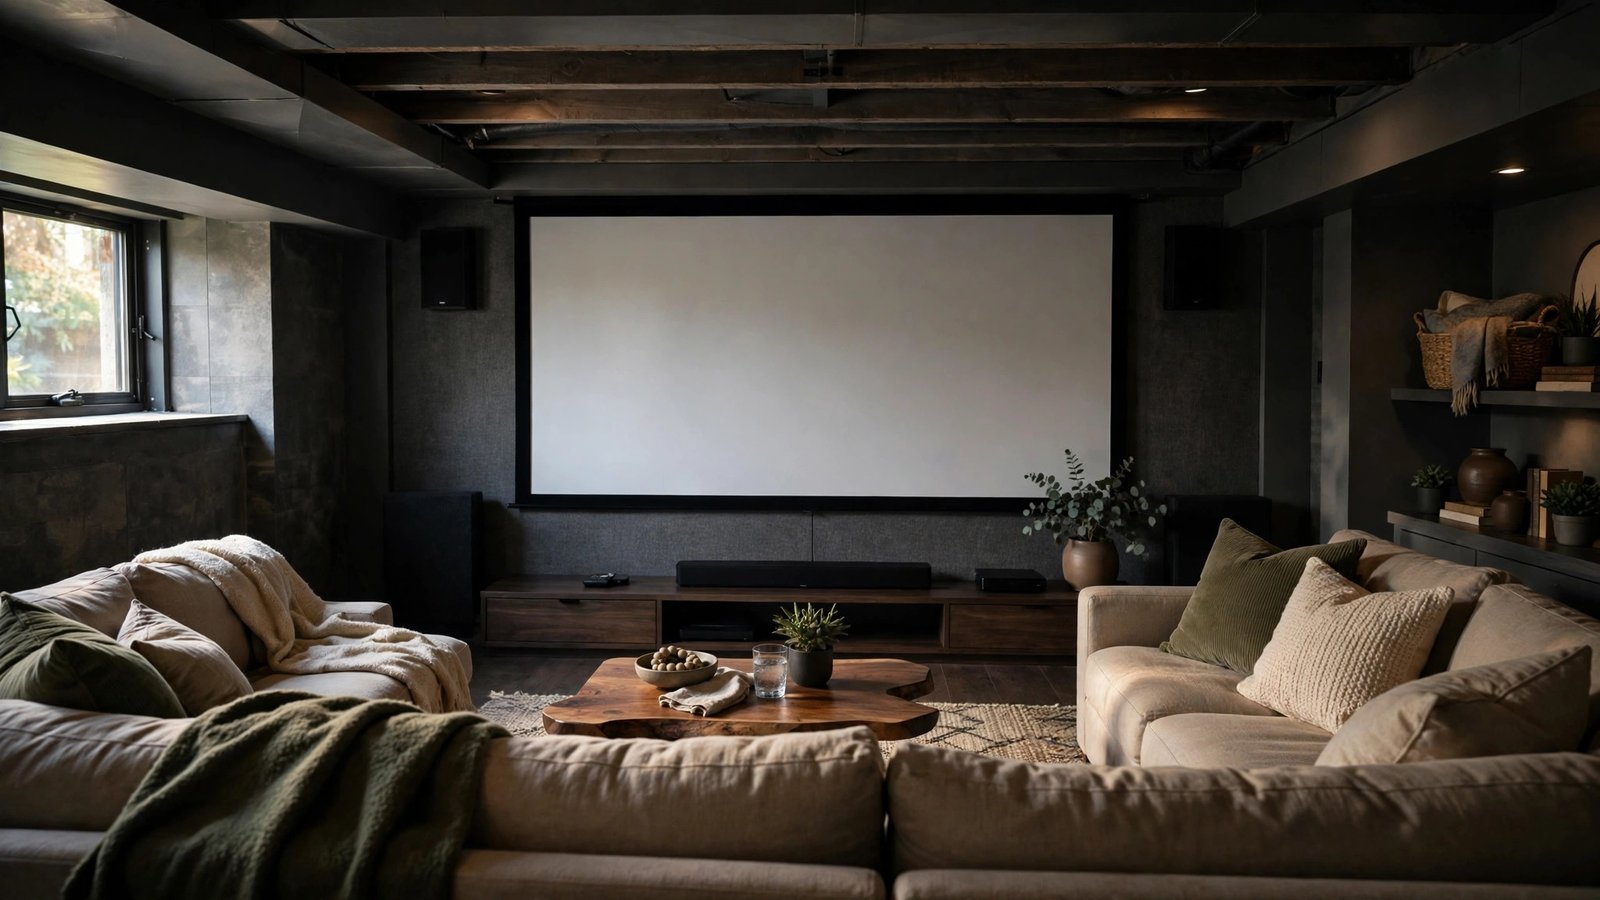
A basement is the best home theater room you already own: naturally dark, naturally quiet, and separated from the rest of the house so the bass does not start family negotiations. And you do not need five figures to make it cinematic — a thoughtful $1,000 budget covers the big screen, real sound, and comfortable seating if you spend in the right order. Here is exactly where each dollar goes.
The Budget Breakdown: Where $1,000 Goes
Allocate roughly: $400–$500 for the display, $200–$300 for audio, $150–$250 for seating, and the rest for lighting, cables, and room treatment. The display eats the biggest share because it defines the experience — but “display” in a basement usually means projector, not TV. A basement’s light control is a projector’s dream: even a budget 1080p projector throws a stunning 100-inch image in a dark room, something no $500 TV can match for sheer cinema scale. If your basement has ambient light issues (walkout windows), budget $30 for blackout curtains and the projector still wins.
The Display: Projector vs. Big TV
For under $500, a 1080p home theater projector from an established brand (Epson, BenQ, ViewSonic all compete here) delivers a 100- to 120-inch image that makes a 65-inch TV look quaint. What to prioritize: brightness (2,500+ ANSI lumens handles some ambient light), low input lag if you game (under 50ms), and lamp life (replacement lamps cost $50–$150, so check ratings). Skip no-name “4K supported” projectors with inflated lumen claims — their real resolution is usually 720p. For the screen, a $100–$150 manual pull-down screen beats a painted wall visibly, though a smooth wall painted with projector screen paint is a fine $30 starter. Mount the projector on the ceiling ($25 mount) for a clean look and to keep it out of the way. RTINGS’ budget projector rankings test real brightness and contrast numbers.
Audio: The Half of Cinema People Forget
Here is the open secret of home theater: sound matters more than picture for the cinematic feeling. A $250 soundbar-with-subwoofer system transforms the experience more than upgrading from a $400 to a $600 projector. In a basement, bass behaves beautifully — concrete walls contain it, and the enclosed space pressurizes nicely. Get a 2.1 or 3.1 soundbar with a wireless subwoofer and HDMI ARC; place the sub in a corner for free bass reinforcement. If you are handy and patient, a used 5.1 receiver + speaker set from Craigslist or Facebook Marketplace often appears for $150–$250 and beats any soundbar for immersion — basements are ideal for running speaker wire along unfinished ceilings. Either way, spend real money here; it is the highest-ROI part of the build.
Seating: Comfort Without the Theater-Seat Price
Dedicated home theater recliners are wonderful and wildly overpriced for this budget. Instead: a used sectional or loveseat ($100–$200 on marketplace sites) arranged at the right distance, or two to three comfortable recliners/oversized bean bags. The viewing distance rule: for 1080p at 100 inches, sit 10–13 feet back; closer and you see pixels, farther and you lose immersion. Elevate a second row if you have one — a simple 8-inch plywood platform ($40 in lumber) creates stadium seating that delights guests. Throw blankets and dimmable lighting complete the comfort equation for almost nothing.
Lighting, Acoustics, and the Finishing Touches
Basements need light control, not light elimination. Install dimmable LED strip lighting behind the screen or along the ceiling perimeter ($20–$30) — bias lighting reduces eye strain and looks premium. Blackout curtains over any windows ($30). For acoustics, bare concrete and drywall echo: area rugs, heavy curtains, and even bookshelves along the walls tame reflections for under $50 total. Cable management is free if you plan it — run HDMI and power before finalizing furniture placement. A $15 universal remote or a phone app to control everything avoids the four-remote shuffle. Total for this phase: under $150, and it is what separates “TV in the basement” from “home theater.”
What to Skip (for Now)
Resist the upgrade temptations that blow the budget: 4K projectors (the content and screen size rarely justify 3x the price at this budget), Dolby Atmos speaker arrays (wonderful, but a future phase-two upgrade), acoustic panel installations (rugs and curtains get you 80% there), and smart-home automation beyond a dimmer. Also skip the popcorn machine until everything else is done — it is the most purchased and least used home theater accessory in history. Build the core, live with it for six months, then upgrade the weakest link with fresh savings. Consumer Reports’ home theater guidance reinforces the spend-on-sound-first principle.
Do Not Forget the Source Devices
The projector and speakers get the glory, but the sources deserve budget too — fortunately, very little of it. A $30–$50 streaming stick (4K-capable) handles Netflix, Disney+, and every other service with a better interface than most projector built-ins. If you own Blu-rays, a used player ($30–$50) unlocks the highest-quality picture available — discs still beat streaming bitrates by multiples, and the format shines on a 100-inch screen. Gamers: the console you already own doubles as a 4K Blu-ray player and streaming box. Connect everything through the soundbar or receiver via HDMI so audio stays in sync, label your inputs, and stash the remotes in one basket. Total source budget: under $100, and it determines what your thousand dollars of display and audio actually get to show.
A $1,000 basement theater works because basements are naturally dark and quiet: spend $400–$500 on a 1080p projector and screen, $200–$300 on a soundbar with subwoofer (sound matters most), and the rest on used seating, bias lighting, and blackout curtains.
Conclusion
A basement home theater for under $1,000 is absolutely achievable: budget projector for the 100-inch image, real audio with a subwoofer, comfortable used seating at the right distance, and cheap lighting and acoustic touches to finish it. Spend in that order, skip the 4K and Atmos temptations for phase two, and enjoy cinema scale at home. For more home entertainment guides, explore our entertainment section, meet the team, or send us your home theater questions.
Frequently Asked Questions
Is a projector or TV better for a basement home theater?
A projector, in most basements — the natural darkness lets even a budget 1080p projector throw a stunning 100+ inch image for under $500, far more cinematic than any TV at that price. Only choose a TV if the basement has uncontrollable ambient light.
How much should I spend on sound versus picture?
Budget roughly 40–50% on display, 25–30% on audio. Sound contributes more to the cinematic feeling than most expect — a $250 soundbar system transforms the experience more than a pricier projector upgrade.
How far should seating be from a 100-inch projector screen?
For 1080p at 100 inches, 10–13 feet is ideal. Closer reveals pixels; farther diminishes immersion. Measure your basement before buying — the room dimensions decide your maximum screen size.
Do I need to treat the acoustics in a basement theater?
Basic treatment helps a lot and costs little: area rugs, heavy curtains, and bookshelves tame the echo of bare concrete and drywall. Dedicated acoustic panels are a future upgrade, not a day-one necessity.
Can I use a painted wall instead of a projector screen?
Yes as a starter — a smooth wall with projector screen paint ($30) works reasonably. But a $100–$150 pull-down screen visibly improves brightness uniformity and contrast, making it one of the best value upgrades in the build.
Leave a Reply